Tips for safely heating laboratory glassware
By DWK Life Sciences

Heating glassware in the lab still requires care, even where products are designed specifically for use in such an environment. There are a few reasons for this.
Firstly, not all laboratory glassware will be of the same specification. For example, borosilicate laboratory glassware provides a far lower co-efficient of expansion than other glass types such as Soda Lime glassware, which is also commonly used in the lab. While products in the latter group are still suitable for a range of applications, it is important to consider the chemical suitability of the glass itself when subjecting it to heat.
Secondly, not all laboratory glassware is manufactured to the same quality standards. Even within a category such as borosilicate glass, the quality of the raw materials used and key factors like the consistency of glass thickness can vary, with premium laboratory and scientific glassware brands such as DURAN, WHEATON, PYREX and KIMBLE offering more reliable heat resistance.
Finally, the way laboratory glass is heated also has a big impact on safety, regardless of the product used. Here are some tips for safely heating glassware in the lab.
1) Factor in expansion and contraction at high temperatures
While the low coefficient of expansion of borosilicate glass (3.3x10⁻⁶K-1) results in very little expansion or contraction when heated or cooled, care is still required, even with this glass type.
Once the temperature exceeds 150oC extra care must be taken to ensure heating and then cooling of the glassware is achieved in a slow and uniform manner. Factoring in the necessary equipment, conditions and importantly the time for gradual increases and then decreases of temperature is essential.
2) Remove the risk of thermal shock
Even without exposing glassware to excessive temperatures, any sudden change should still be avoided. Thermal shock from sudden heating or cooling can cause the glass to break or crack. Heat glass gently and gradually, including at the beginning of your process, and allow hot glassware to cool gradually in a location away from cold draughts.
3) Avoid hotspots by distributing heat evenly
Concentrated or direct heat on one part of the glass can cause hotspots to occur and should be avoided as different rates of heating can result in stress that weakens the glass and causes breakages. If you are using a Bunsen burner, employing a soft flame and using a wire gauze with a ceramic centre to diffuse the flame will help distribute the heat applied.
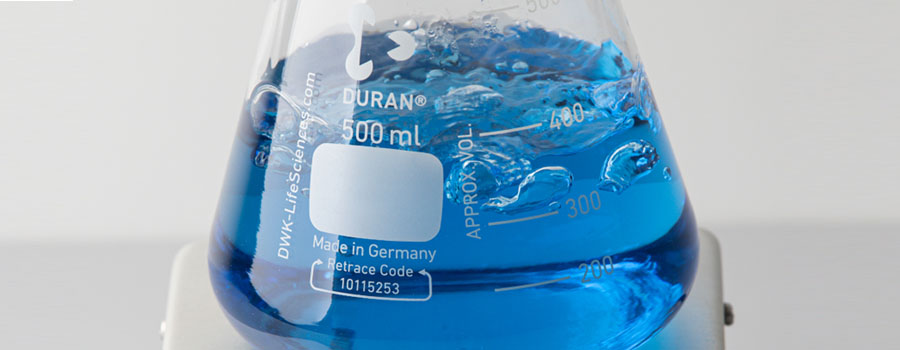
Using a hotplate also helps to ensure effective heat distribution, though it is important to ensure the top plate is larger than the base of the vessel to be heated. This will enable the even distribution of heat through the base of the glassware, reducing the possibility of the glass breaking due to hotspots. Always warm up the glassware to ambient temperature before placing it on the hotplate, as cold containers might be subject to thermal shock.
4) Microwave with caution
Not all laboratory glassware can be used safely in the microwave. Soda Lime products, for example, are unable to endure sudden temperature changes. Borosilicate glass, on the other hand, is microwave safe, however as with any microwave vessel it is important to ensure that it holds microwave absorbing material, before placing it in the oven.
It is also important to check for any parts or accessories attached to the glass and ensure the material they are made from can be safely microwaved. Some products utilise plastic screw caps and connectors and these should be manufactured from polypropylene or PTFE to be microwave safe.
5) Autoclave with care to prevent damage ahead of future heating
Most laboratory glassware can be safely autoclaved. However, there are a few things to keep in mind to avoid damaging glassware in a way that would impact future heating. Firstly, always loosen off any screw caps before starting the process. Autoclaving glassware with a tightly screwed cap can result in pressure differences which can damage the container and result in damage either there and then or when heating glassware in the future. Alternatively, using a single port connector cap with a sterile venting filter or a sterile venting membrane screw cap provides an automatic sterile gas exchange, allowing safe pressure equalisation during the autoclave cycle while at the same time ensuring the sterility of the bottle contents. Secondly, avoid overloading the autoclave. This will ensure enough space is left between items to circulate the high-pressure steam and reduce the risk of damage that might later make the glassware unsuitable for heating.